On this page
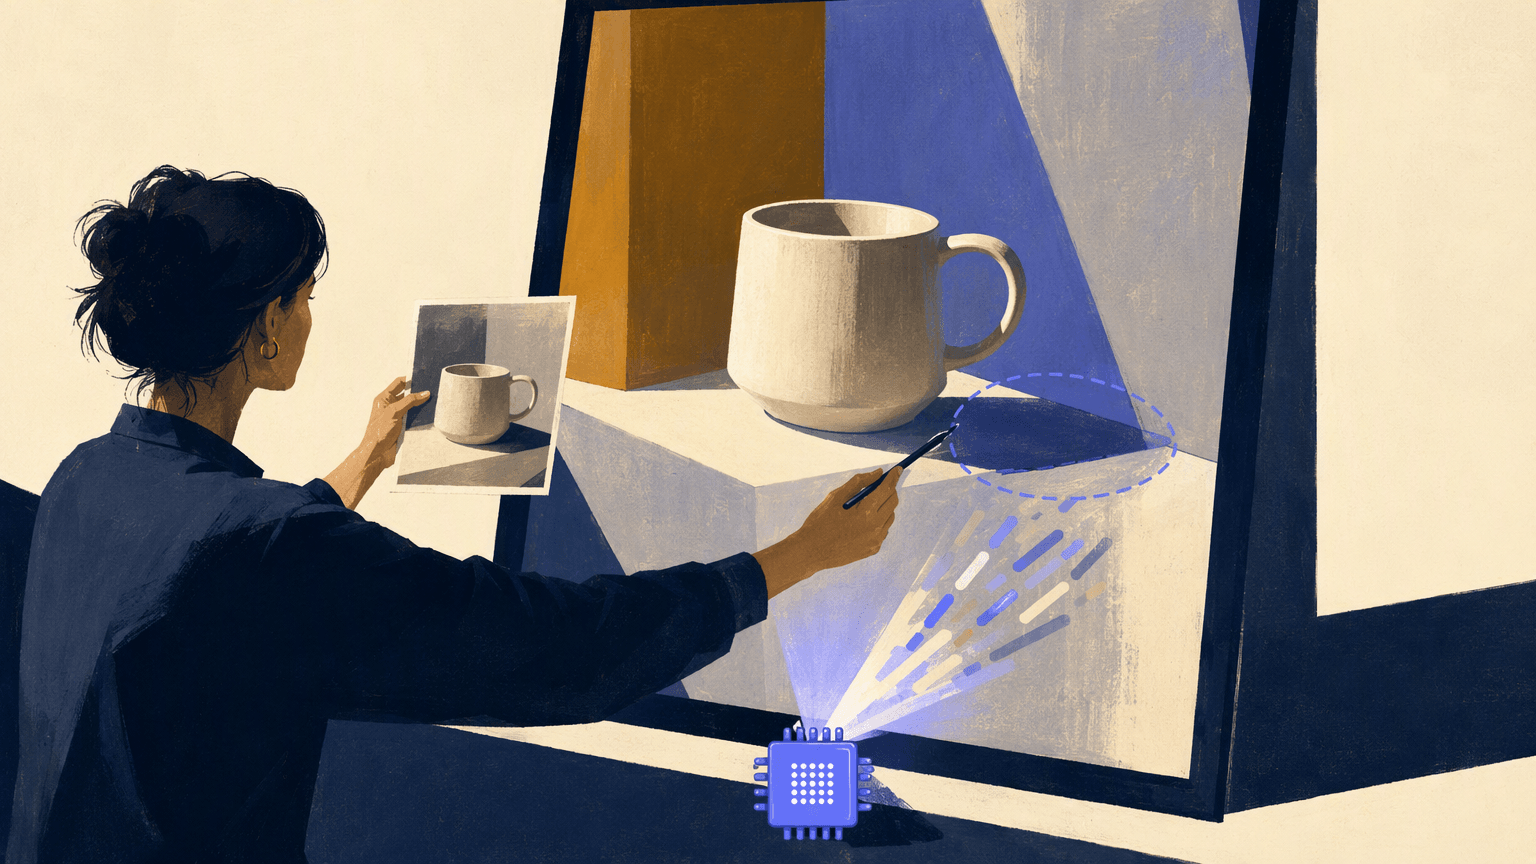
To learn how to create AI images, start with the material you already have: an idea, a reference picture, or an image that needs one correction. Choose a tool that supports that input, explain the result you want, and inspect what it generates before exporting. The three workflows below use an illustrative ceramic-mug example to show how your instructions and quality checks change with each starting point.
How to generate AI images from text
Text generation works when you need a new visual and do not have a source image to preserve. You need access to an image generator, a clear use for the result, and time to review it. Check the tool's current generation and export limits before starting.
Choose your route by what you want to keep:
| Starting point | Workflow | What to specify | What to check |
|---|---|---|---|
| An idea without a source picture | Text to image | Subject, setting, style, lighting, composition | Whether the visual fits the brief |
| A photo or sketch to guide a new picture | Reference-based generation | What to retain and what to reinterpret | Subject details against the source |
| An existing image with a specific problem | Image editing | The change and the elements to preserve | Both the edited area and the rest of the image |
Step 1: Describe the intended image
Start with the image's job. A website hero needs a composition that works beside a heading; a product-detail image needs clear, accurate product information. Name the subject and setting, then add the visual style, lighting, and placement that matter.
For a fictional tea-shop concept, you could write:
Create an editorial photograph of an unbranded cream ceramic mug on a pale wooden table, lit by soft morning light from the left. Place the mug on the right side of a wide composition. Keep the left side simple for a separate website headline. Use a warm, quiet mood and no lettering.
This is an example prompt, not a claim about a tested output. If the mug represents a real item for sale, a generated concept must not substitute for an accurate view of that item.
Step 2: Generate a first version
Enter the prompt and use the orientation or aspect-ratio controls if your tool provides them. To generate AI images from text effectively, compare the result with your brief rather than judging only whether it looks attractive. Request alternatives within your available usage limits.
Step 3: Refine and inspect the result
Choose the closest result and change one thing at a time. If the composition works but the background is crowded, request a simpler background. Check that the mug, handle, shadows, and intended headline space still make sense before saving a candidate.
Avoid piling contradictory instructions into every revision. “Close-up product detail” and “wide scene with plenty of empty space” can pull the composition in different directions. Decide which requirement serves the destination, then make that priority explicit.
How to generate AI images based on a reference image
A reference gives the tool something visual to work from. It might guide composition, color, style, or the subject itself, depending on the tool. It does not automatically preserve every detail of the original.
Step 1: Choose an authorized reference
Use a photo or sketch you have permission to upload and reuse. Choose a generator with reference-image support, then add a source that clearly shows the relevant features. For the mug example, use a clear view of its rim, handle, and proportions.
Step 2: Separate preservation from changes
Explain what the reference contributes and what should change. When using a reference, distinguish the subject you want to keep from the environment you want to change. If the tool offers different reference modes, choose the one suited to that purpose.
For example:
Use the uploaded mug photo as the subject reference. Keep its cream color, rounded silhouette, and handle shape as closely as possible. Show it on a pale wooden table in soft morning light, with empty space to the left. Do not add a logo or lettering.
Step 3: Compare against the source
Inspect the output beside the original. Check the handle opening, rim thickness, color, and proportions rather than relying on the overall impression. If these details change and accuracy matters, retain the original photograph or use a more controlled editing workflow.
A reference-based image can be useful for exploring an art direction even when it is unsuitable as an exact product representation. Decide which of those jobs you are doing before choosing the final result. For a person, review likeness just as carefully; do not assume that recognizable styling means accurate identity.
How to edit existing images with AI
Editing starts with a picture you want to keep. The task is to correct or replace something within it, rather than make a new composition loosely inspired by it. Choose a tool that explicitly supports editing uploaded or generated images.
Step 1: Preserve the original
Save a separate copy before making changes. Identify one concrete problem, such as a stray spoon behind the mug. Describe the intended correction and the important content that must remain, including the crop if it is already right for your page.
Step 2: Mark or describe the edit
If your editor provides selection or masking, mark the relevant area. Otherwise, name the object and its location precisely. Pair the change request with preservation instructions rather than relying on a vague command such as “make this better.”
Try an instruction like:
Remove only the spoon behind the mug and fill its place with matching tabletop. Keep the mug, its handle, the lighting, and the current crop unchanged. Do not introduce new objects or text.
Step 3: Inspect the whole image
Check the repaired area for mismatched texture, shadows, or edges. Then compare the mug and framing with the original. A successful removal is not enough if the editor also changes product details. Undo the edit if collateral changes make the result unusable.
Selections and preservation instructions are aids, not guarantees that all other pixels remain untouched. If repeated edits damage useful details, return to the original and use a conventional retouching tool. Fixing a small defect should not require accepting a different subject.
For multiple changes, work in stages and keep intermediate versions. This makes it easier to identify which instruction caused a problem and to return to the last acceptable image.
How Atoms brings generated images into a website
When the image belongs on a website, its success depends on the surrounding page as well as the image itself. Atoms is an AI product-building platform that turns natural-language briefs into editable websites and web applications. It can generate supporting images and place generated or supplied media into the web experience, so you can review the visual alongside the content it supports.
- Generate for a defined placement. Describe the audience, page, mood, and purpose of the image in your product brief. For a hero section, explain where the subject should sit and how the visual should relate to the headline. Review the generated result against those requirements.
- Use generated or supplied media. A concept visual can help establish a direction, while your own photography may be the right choice when exact product details matter. Atoms supports media placement within the site. Keep essential headlines and calls to action as page content you can inspect and revise.
- Refine through conversation. Request focused changes to the layout, copy, or image placement. You can ask to replace an image or improve mobile behavior as the page develops. Review each change in context instead of assuming that a good standalone picture creates a good page.
- Review before publication. Preview the experience on different screens and check media rights, accessibility, content accuracy, and performance. If the site includes forms, accounts, or other integrations, review those too. A finished-looking visual does not establish that the complete experience is ready.
A useful page brief could be:
Build a responsive concept landing page for a fictional tea shop. Include a hero image of an unbranded cream ceramic mug beside a real text heading and a contact section. Keep the mug visible on mobile. Use a warm neutral palette and do not invent reviews or product claims.
These published project examples show contexts where product visuals need to work within a website. They illustrate storefront presentation; their descriptions do not establish how individual images were created.
Skincare Brand E-commerce Web
Skincare Brand E-commerce Web HALO SKIN is a nighttime skincare storefront focused on products for overnight skin care. It offers a context for considering how product visuals support a specific range and message.
Cashmere Lounge Sets
Cashmere Lounge Sets NORDA presents Scandinavian-inspired lounge clothing. Its theme is a useful reference for planning a consistent visual direction across a product website.
Beverages Online Store
Beverages Online Store This online store presents beverage products. It provides a straightforward example of a site where product imagery needs to work alongside shopping content.
Build a page around your visual brief with Atoms.
Fix common problems before exporting your image
Judge the result at the size and placement where people will see it. A small thumbnail can hide malformed details, and a wide composition may crop awkwardly on a phone. Check both the image itself and its intended destination.
- The result feels generic: replace broad praise such as “beautiful” with one visible requirement, such as a specific subject position or lighting direction. Change one variable, then compare.
- The subject changes between versions: return to the source or the last acceptable version. Reuse a documented brief or reference where supported, but inspect each result. Use original photography when exact appearance is essential.
- Text looks wrong: add the final wording as editable text in the page or design rather than repeatedly asking the generator to fix it. Check spelling and readability separately.
- A series looks inconsistent: record the visual choices you want to repeat, including palette, background, framing, and lighting. Compare the images as a set and reject those that drift.
- The export is too small: check the tool's export options against the destination's requirements. Upscaling may help prepare a larger file, but it cannot make an incorrect object or misleading product detail accurate.
Download the strongest candidate and keep the original export. Make a separate version sized for your destination, then place it back into the page or design and check the crop and detail again.
Before accepting the image, use this short checklist:
- [ ] The subject and composition match the brief.
- [ ] Important details, shadows, and edges survive close inspection.
- [ ] There is no unintended lettering, logo, or unwanted object.
- [ ] You have checked source permissions and the relevant usage terms.
- [ ] The image works at its intended size and crop, including mobile placement when relevant.
- [ ] The file format and dimensions suit the destination, and you have saved the original and useful prompt revisions.
Conclusion
Creating a usable AI image starts with choosing the right input. Use text for a new idea, a reference for visual guidance, and editing for a targeted correction. Compare the result with your brief and inspect it where it will appear before accepting it. If your next step is a website, bring your visual brief and accurate source materials to Atoms to build and review the page around them.
A little more clarity
Frequently asked questions
01Q1: Do I need design skills or coding to make AI images?
You can use a browser-based image generator without writing code. A clear description and careful review are more useful starting points than technical knowledge. Basic awareness of composition, lighting, and the image's destination helps you explain what you want and spot a result that needs work.
02Q2: Can I create AI images for free?
Some tools offer limited free access, but availability, generation limits, and export conditions can change. Check the terms for your account before planning a project around them. Treat experimentation and a production workflow as separate needs; a first successful image does not establish the cost of repeated revisions.
03Q3: Can I use AI-generated images commercially?
Check the chosen tool's current terms and your permission to use any uploaded material. Do not assume that permission to generate an image settles every question about its contents or intended use. Review the specific output before putting it into advertising, product pages, or other commercial material.
04Q4: How can I make AI images of myself consistently?
Use photos you are authorized to upload in a tool that supports reference-based generation, and compare each result with the source. Keep the relevant instructions consistent. Specialist model training is another, more advanced workflow, but it is outside this tutorial and should not be treated as a guarantee of accurate likeness.
05Q5: Can Atoms generate images for my website?
Yes. Atoms supports generating visual assets and inserting them into a website or web application. Describe the page and the visual's purpose, then review the image with the layout and content. You can continue refining the website through conversation before preparing it for publication.
06Q6: Can I use an existing photo in an Atoms website?
Yes. Atoms can use supplied media within a website, so you can bring your own photography or other authorized visuals into the experience. Including a photo in a page is a different task from detailed image retouching. If you need a specific editing operation, check that capability before choosing the workflow.
Share this article
 Posts
Posts 